Build a Scalable Architecture for Next.js Project
While I was building my personal website (This Website), I read many articles about nextjs project setup and architecture that is scalable. while there are many options available out there, I choose the architecture for my website that is not very complex but scalable. I thought I should share this with other developer as well who are looking for a scalable architecture solution for their nextjs project. If you find this tutorial helpful, please share it with your friends and colleagues! Don't forget to follow me :-)
You can find all the code from this tutorial in this repository.
Introduction
before you begin this tutorial, I will highly recommend you to go read the official nextjs documentation and have basic understanding of nextjs. I have tried to implement all the required integrations but if any of them don't appeal to you then in most cases you can simply skip over those sections.
Now, with all that said, if you are ready, let's start?
Initialize Project:
We'll initiate our project by creating a default Next.js application with Typescript.
npx create-next-app@latestOn installation, you'll see the following prompts:
- What is your project named? my-app
- Would you like to use TypeScript? No / Yes
- Would you like to use ESLint? No / Yes
- Would you like to use Tailwind CSS? No / Yes
- Would you like to use `src/` directory? No / Yes
- Would you like to use App Router? (recommended) No / Yes
- Would you like to customize the default import alias (@/*)? No / Yes
- What import alias would you like configured? @/*
Enter the name of your project and select yes for other options as we will need those in our setup. once you are done, create-next-app will create a folder with your project name and install the required dependencies.
If you're new to Next.js, see the basic project structure docs for an overview of all the possible files and folders in your application.
In this tutorial, I am going to use npm but you can also use yarn if you want. To verify the installation, go to the project directory and run :
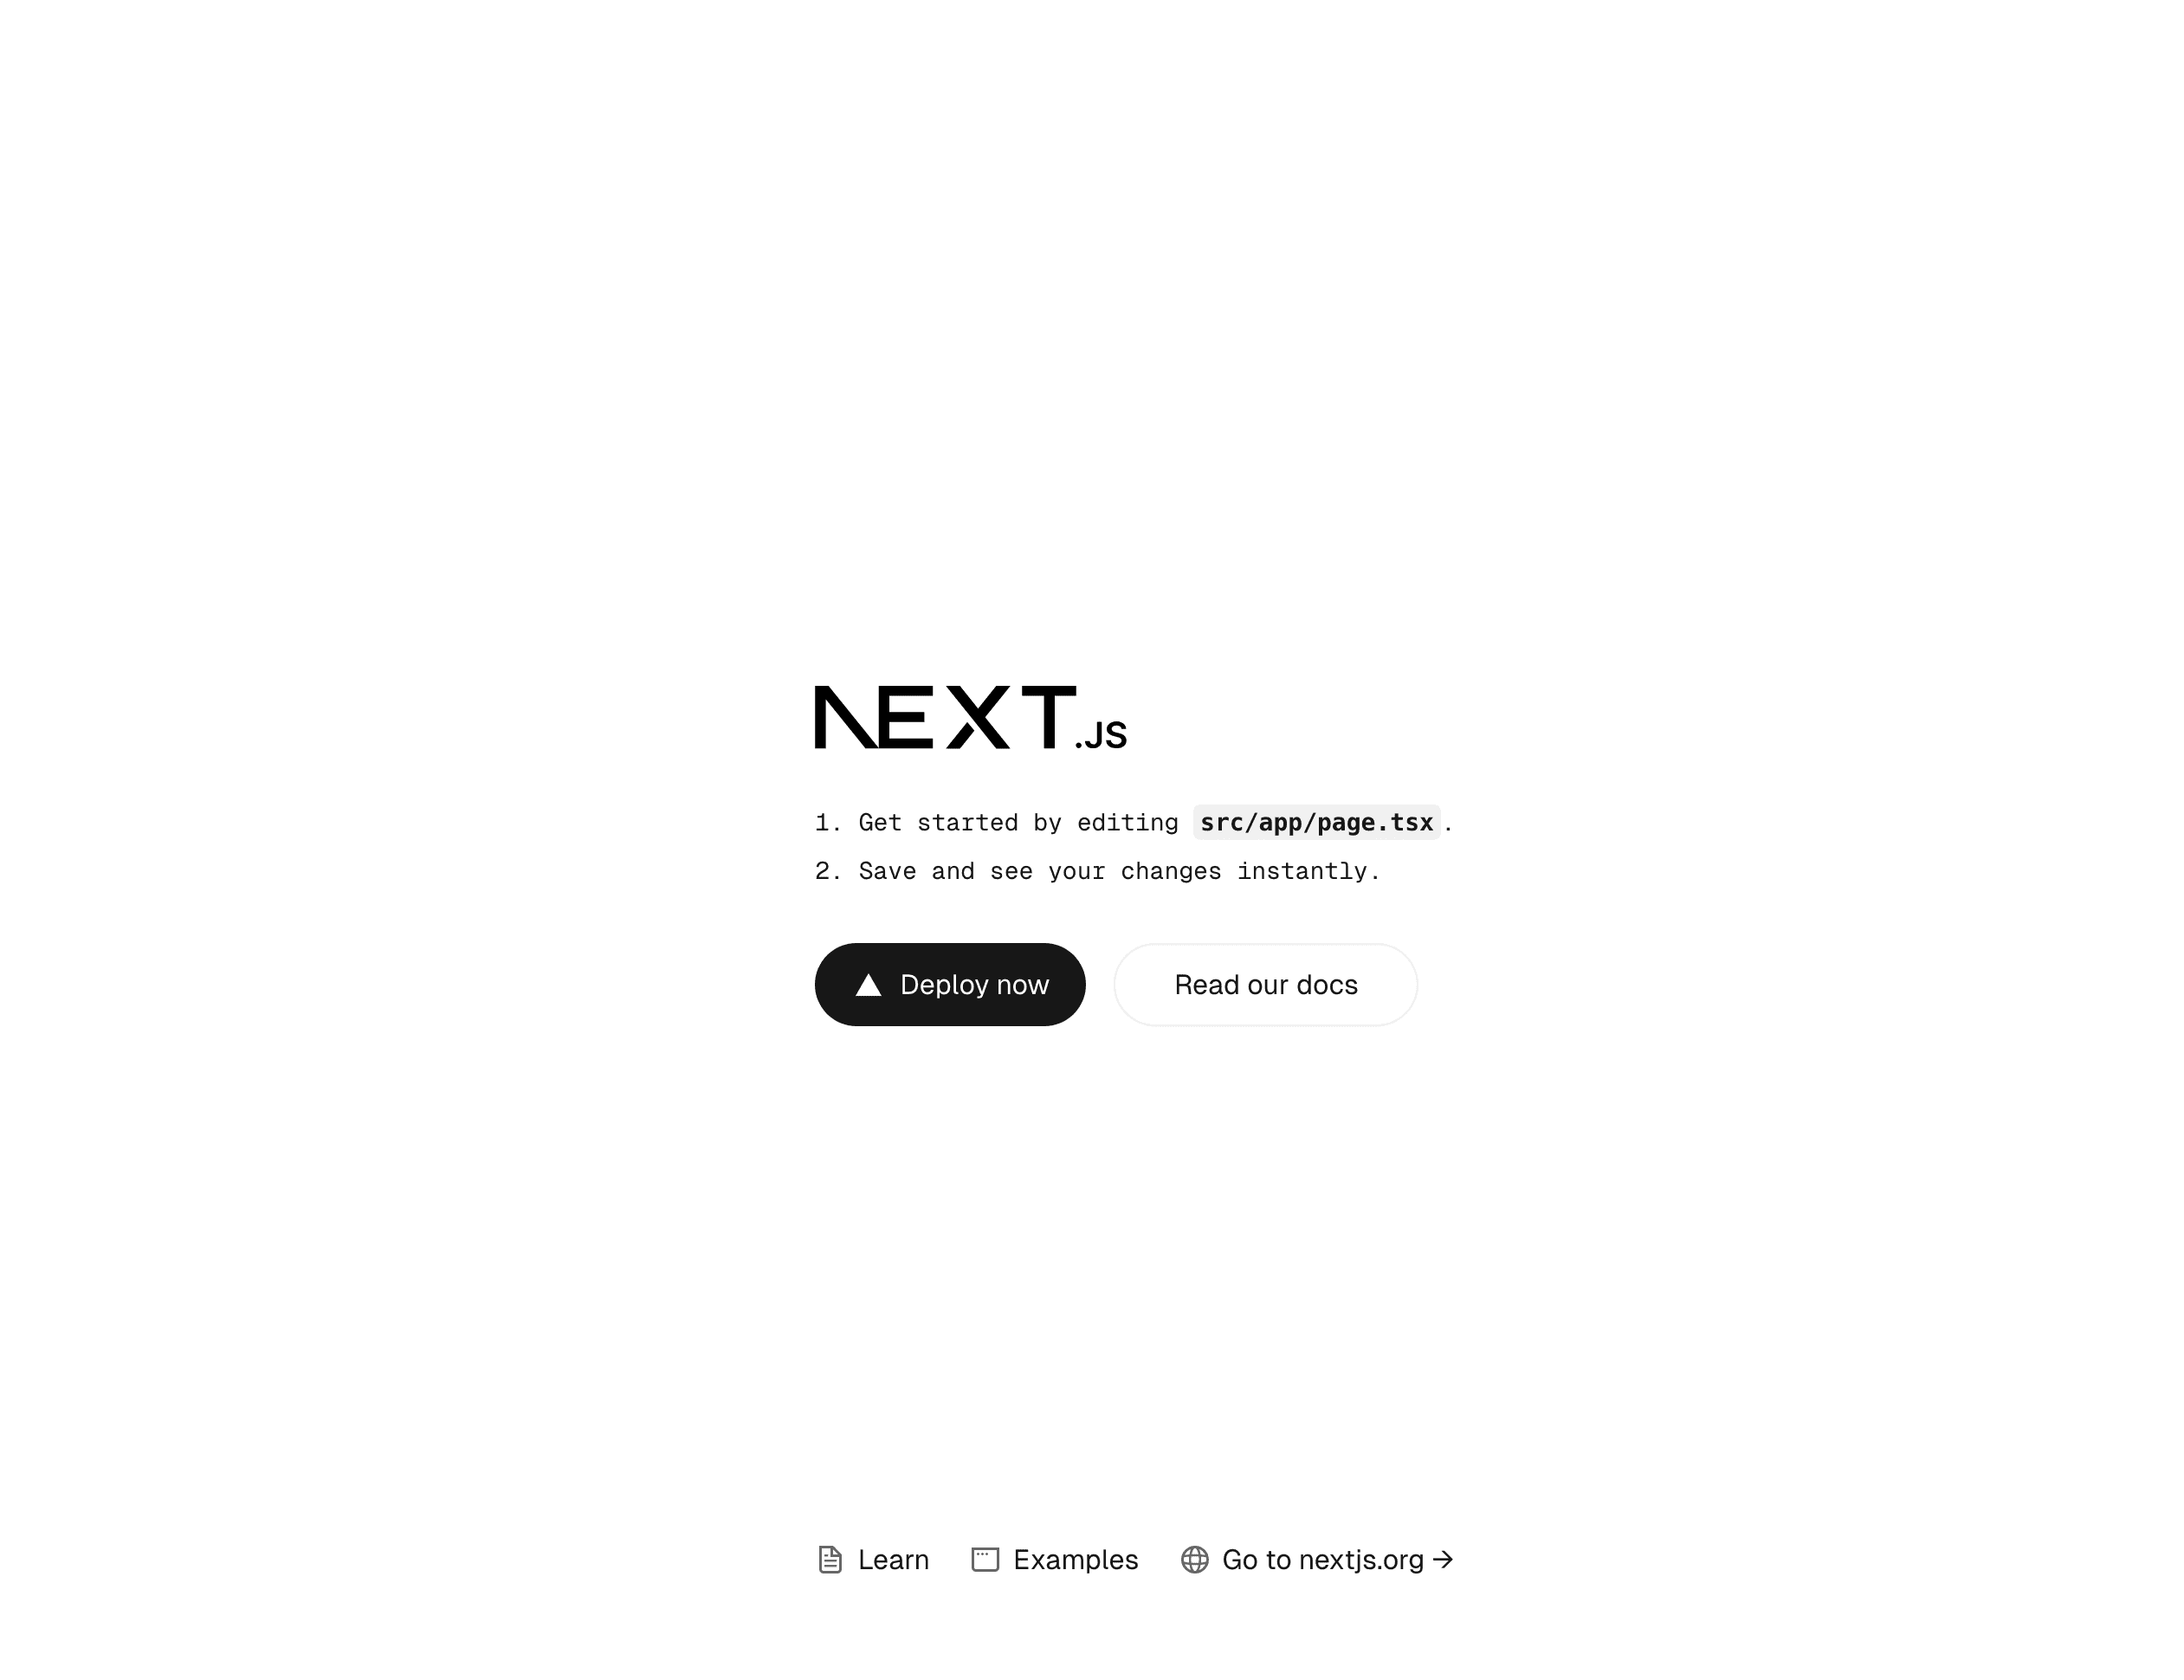
npm run devYou should see the demo app available on http://localhost:3000

Git Setup
The first thing we will do after project initialize is setup a git repo and make our first commit to remote repo to make sure we are saving our progress and to follow the best practices.
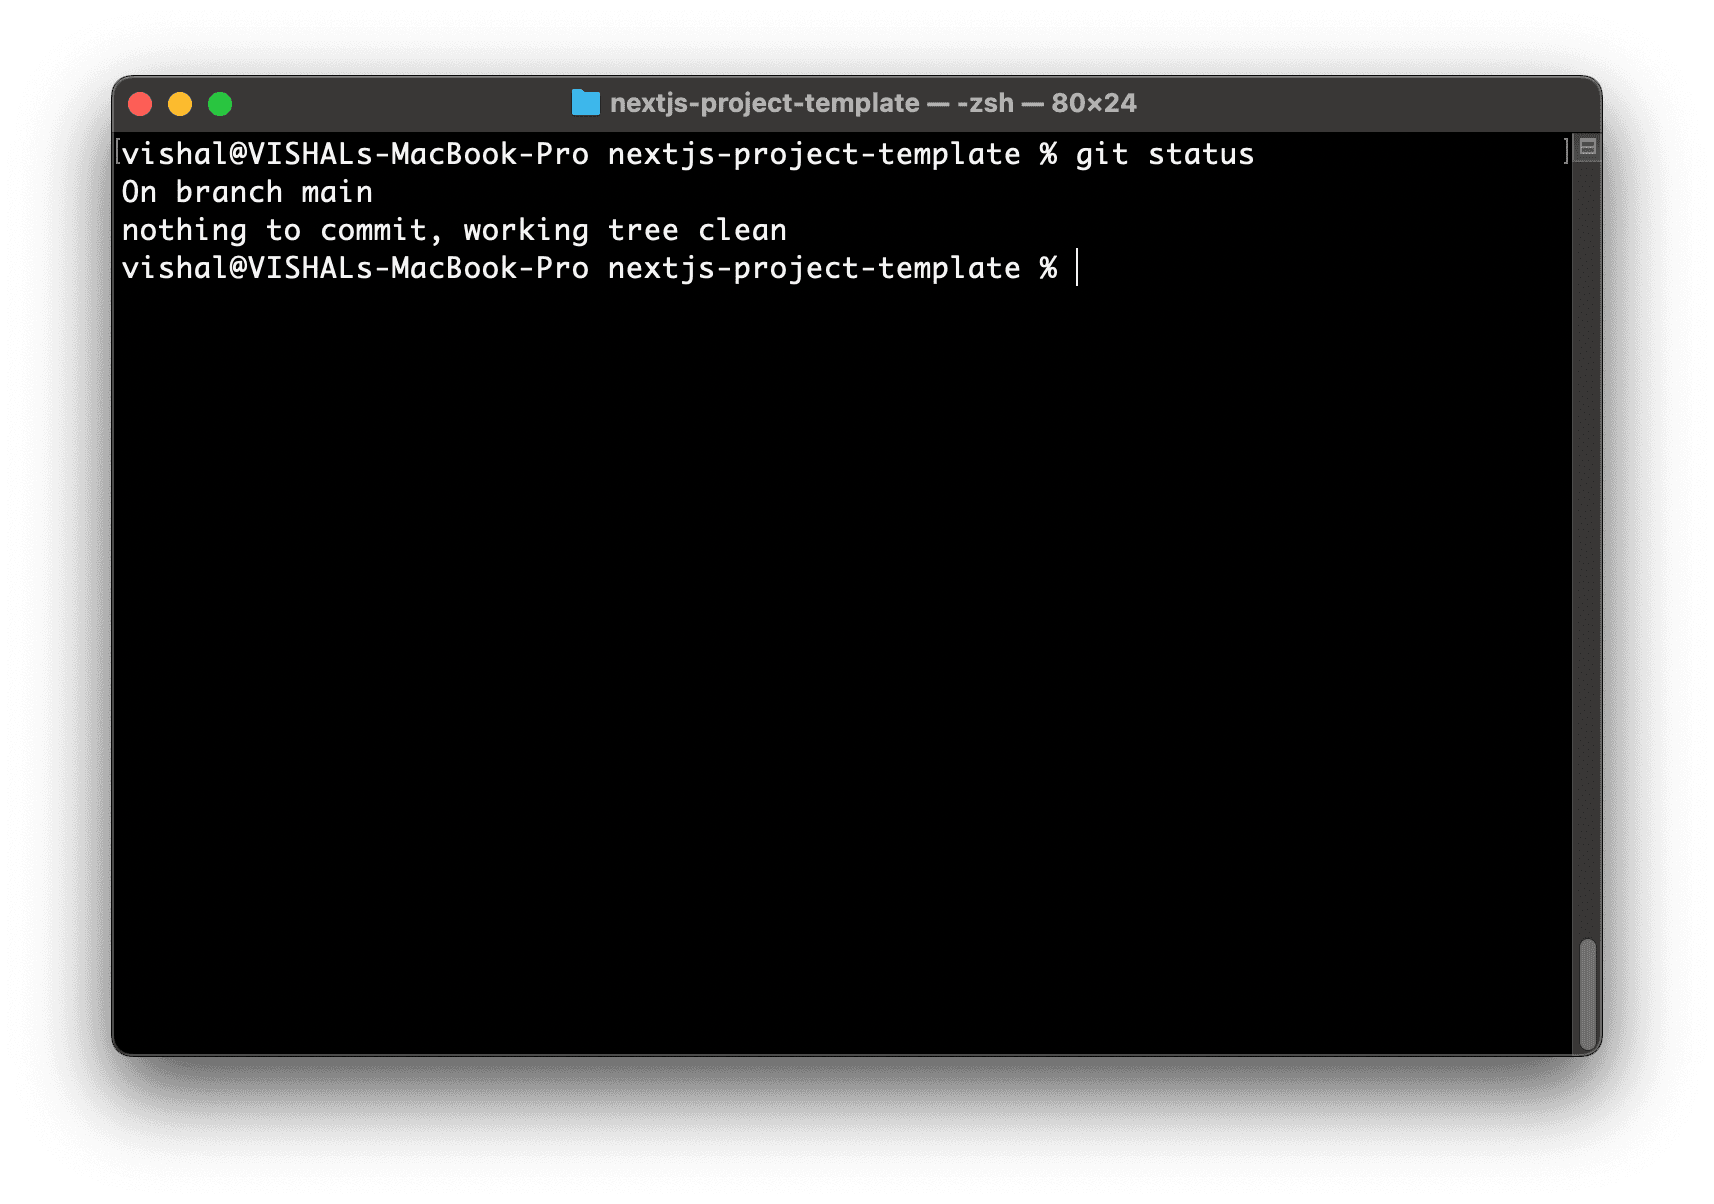
By default Next.js will already have a repo initialized, to check your current status, you can type below command :
git status
It will tell you about your current branch and changes.
Next thing we will do is connect the remote repo and push our changes. I am gonna use github for my git hosting, you can use your preferred git hosting provider. create a new repo on git hosting and make sure the default branch is se to the same name as the branch on your local machine, in our case its main branch. Now next step is to add the remote origin of your repository and push the changes. use below commands to connect your remote repo and push the code to remote repo.
git remote add origin git@github.com:{YOUR_GITHUB_USERNAME}/{YOUR_REPOSITORY_NAME}.gitgit push -u origin {YOUR_BRANCH_NAME}You can follow the commit rules set by your project team, I am gonna use the Conventional Commits standard.
Engine Locking
We want all our developers working on this project to use the same node engine and package manager we are using. create two files into your project root directory :
- .nvmrc: we will define which version of Node to be used
- .npmrc: we wil define which package manager to be used
In my case, I am using Node 20.12.1 and npm, so I will set these values in above files.
.nvmrc
lts/iron.npmrc
engine-strict=truewe will specify the package manager in package.json file. open your package.json file and add the engines field :
"name": "nextjs-project-template",
"version": "0.1.0",
"private": true,
"engines": {
"node": ">=20.12.0",
"npm": ">=10.8.3",
"yarn": "please-use-npm"
},
...
engines field is where you specify the specific versions of node and npm you are using, you can replace these values with yours.
Lets commit out changes :
git add .
git commit -m 'build: setup engine locking'
Code Formatting and Check
We want to set a code standard that will be used by all the developers working on this project and for that we will use most commonly used tools eslint and prettier
ESLint
We will use the eslint for the best practices on coding standards. when you install the nextjs project, it will be installed and pre-configured.
We will modify it little bit and add few more rules, you can skip if you are okay with default rules that comes when you install nextjs.
open .eslintrc.json which should be in your root directory and replace its content with below :
{
  "extends": ["next", "next/core-web-vitals", "eslint:recommended"],
  "globals": {
    "React": "readonly"
  },
  "rules": {
    "no-unused-vars": "war"
  }
}
In the above small code we have added a few additional rules, React will always be defined even if we don't specifically import it, and I have updated the no-unused-vars rule to show the warnings only so that it will allow me to add the variables but not used them in the code. Its not recommended but I personally don't like making it strict, we can always review the warnings once we are done with the code and remove the variables that are not required. but you can keep it on if you want, no hard rule -:).
You can verify your config by running:
npm run lintsince we have not made any changes to the code yet so you should get a message like:
✔ No ESLint warnings or errorsmake sure to save your progress using git commit.
Prettier
Prettier is great tool. It will take care of automatically formatting the files. Its only needed during development so we will add it as dev dependency.
npm i -D prettieryou should also install the Prettier VS Code extension so that VS Code can handle the formatting of the files for you and you don't need to run the command line tool.
We will specify the rules for formatting in below files:
.prettierrc
{
  "trailingComma": "es5",
  "tabWidth": 2,
  "semi": true,
  "singleQuote": true
}
you can specify the rules as per the standard you and your team follow.
Not all the files in project needs to be formatted, we also want to ignore few files and directories, so we will set the rules.
.prettierignore
.next
dist
node_modules
*.env
Now we will add a new script to package.json file so that we can run Prettier:
...
  "scripts: {
    ...
    "prettier": "prettier --write ."
  }
to check the configuration, You can now run :
npm run prettierIt will format all the files in your project directory except the one which you have specified in .prettierignore.
make a commit and save your changes.
Git Hooks
I will strongly recommend you to use Git Hooks as it will make sure your code passes all the quality checks before you submit or push the code.
We will use the tool Husky.
Husky is a tool for running the scripts at different stages of the git process, for example add, commit, push, etc. We would set certain conditions, and only allow commit and push to succeed if our code meets those conditions. Let's install the husky by running below command :
npm i -D husky
npx husky init
Above commands will install the husky package and will create a .husky directory in your project. This is where your hooks will be saved. Make sure to push this directory to your code repo as it's intended for other developers as well. It will also add a script to your package.json file.
...
"prepare": "husky"
...
Now we will create a pre-commit hook that will run whenever we run git commit command. To create a hook run :
echo "npm run lint" > .husky/pre-commitabove hook will make sure you don't commit your code with any linting error, it will stop prevent the commit if you have any eslint error in your code so that you can go back, fix the errors and then commit your code.
We will add one more hook that will run whenever we push our code to remote repo :
echo "npm run build" > .husky/pre-pushThe above hook ensures that you are not allowed to push to the remote repository unless your code can successfully build.
Before we move forward with the next section, we will add one more tool. I told you in the beginning that I will follow the Conventional Commits standard. We want our developers also follow the same standard. To do that, we can add a linter for our commit messages:
npm i -D @commitlint/config-conventional @commitlint/cliWe will be using a set of standard defaults, but we will include that list explicitly in a commitlint.config.js file in case you forget what prefixes are available:
// build: Changes that affect the build system or external dependencies (example scopes: gulp, broccoli, npm)
// ci: Changes to our CI configuration files and scripts (example scopes: Travis, Circle, BrowserStack, SauceLabs)
// docs: Documentation only changes
// feat: A new feature
// fix: A bug fix
// perf: A code change that improves performance
// refactor: A code change that neither fixes a bug nor adds a feature
// style: Changes that do not affect the meaning of the code (white-space, formatting, missing semi-colons, etc)
// test: Adding missing tests or correcting existing tests

module.exports = {
  extends: ['@commitlint/config-conventional'],
  rules: {
    'body-leading-blank': [1, 'always'],
    'body-max-line-length': [2, 'always', 100],
    'footer-leading-blank': [1, 'always'],
    'footer-max-line-length': [2, 'always', 100],
    'header-max-length': [2, 'always', 100],
    'scope-case': [2, 'always', 'lower-case'],
    'subject-case': [
      2,
      'never',
      ['sentence-case', 'start-case', 'pascal-case', 'upper-case'],
    ],
    'subject-empty': [2, 'never'],
    'subject-full-stop': [2, 'never', '.'],
    'type-case': [2, 'always', 'lower-case'],
    'type-empty': [2, 'never'],
    'type-enum': [
      2,
      'always',
      [
        'build',
        'chore',
        'ci',
        'docs',
        'feat',
        'fix',
        'perf',
        'refactor',
        'revert',
        'style',
        'test',
        'translation',
        'security',
        'changeset',
      ],
    ],
  },
};
Enable commitlint with Husky by using:
echo 'npx --no -- commitlint --edit "$1"' > .husky/commit-msgMake sure to try some commits that don't follow the rules and see output, you will receive the feedback that is designed to help you correct them.
Save your progress so far.
VS Code Configuration
We have implemented ESLint and Prettier we can configure them to run automatically.
Create a directory in the root of your project called .vscode and create a file inside this directory called settings.json. This will override the default settings of your VS Code.
Within settings.json we will add the following values:
{
  "editor.defaultFormatter": "esbenp.prettier-vscode",
  "editor.formatOnSave": true,
  "editor.codeActionsOnSave": {
    "source.fixAll": true,
    "source.organizeImports": true
  }
}
The above lines of code will tell VS Code to use Prettier as the default formatter and to automatically format your files and organize your imports every time you save the file.
Save your changes and make a commit.
Debugging
Lets setup a environment for debugging in case we run into any issues during development.
Inside of your .vscode directory create a launch.json file:
{
  "version": "0.1.0",
  "configurations": [
    {
      "name": "Next.js: debug server-side",
      "type": "node-terminal",
      "request": "launch",
      "command": "npm run dev"
    },
    {
      "name": "Next.js: debug client-side",
      "type": "pwa-chrome",
      "request": "launch",
      "url": "http://localhost:3000"
    },
    {
      "name": "Next.js: debug full stack",
      "type": "node-terminal",
      "request": "launch",
      "command": "npm run dev",
      "console": "integratedTerminal",
      "serverReadyAction": {
        "pattern": "started server on .+, url: (https?://.+)",
        "uriFormat": "%s",
        "action": "debugWithChrome"
      }
    }
  ]
}
with that script in place, you will be able to use VS code debugging options.
Save your changes.
Storybook
Storybook is the one of the great tools available to test and showcase our individual components. If you are not familiar with it, I will suggest to go through the official documentation.
Lets install it by running below command:
npx storybook@latest initStorybook will look into your project's dependencies during its install process and provide you with the best configuration available.
The command above will make the following changes to your local environment:
- Install the required dependencies.
- Setup the necessary scripts to run and build Storybook.
- Add the default Storybook configuration.
- Add some boilerplate stories to get you started
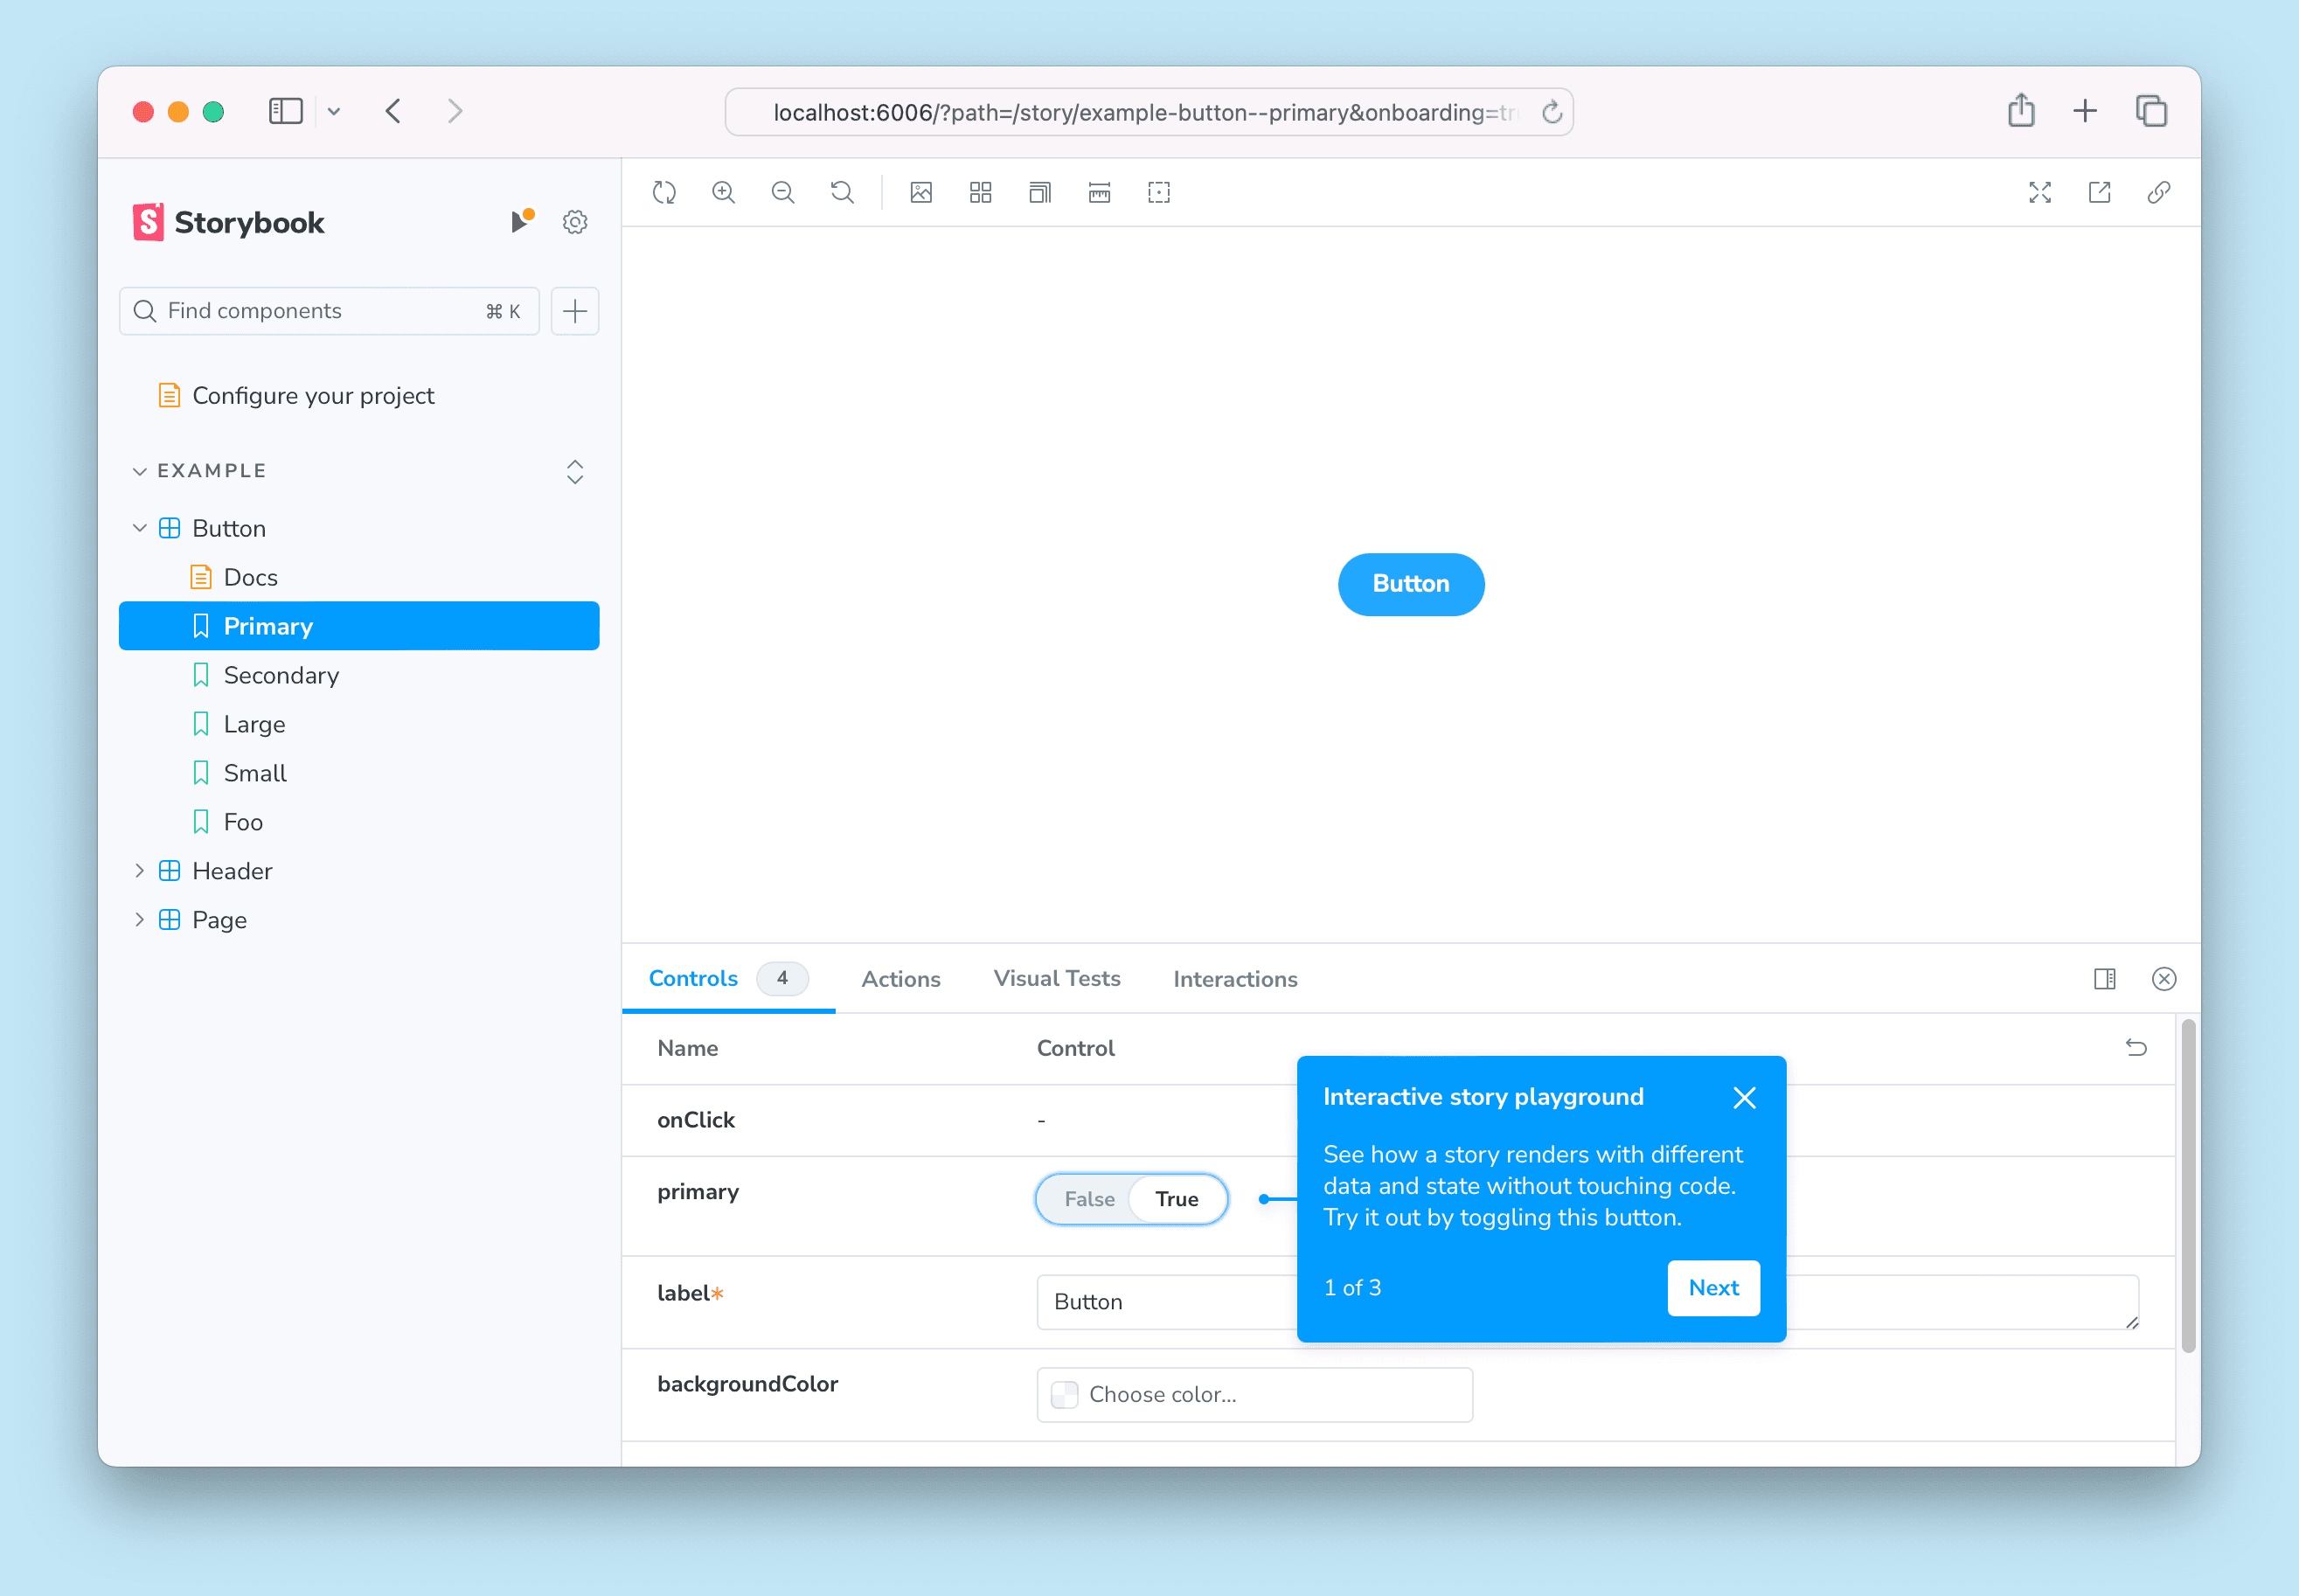
If all goes well, you should see a setup wizard that will help you get started with Storybook introducing you to the main concepts and features, including how the UI is organized, how to write your first story, and how to test your components' response to various inputs utilizing controls.

Storybook will create stories directory to the root of your project with a number of examples. If you are new to Storybook I will recommend to go through them and leave them there until you are comfortable creating your own stories.
To run the storybook, you can run the below command :
npm run storybookYou can change the configurations as per your project need.
Don't forget to save and commit the changes.
Directory Structure
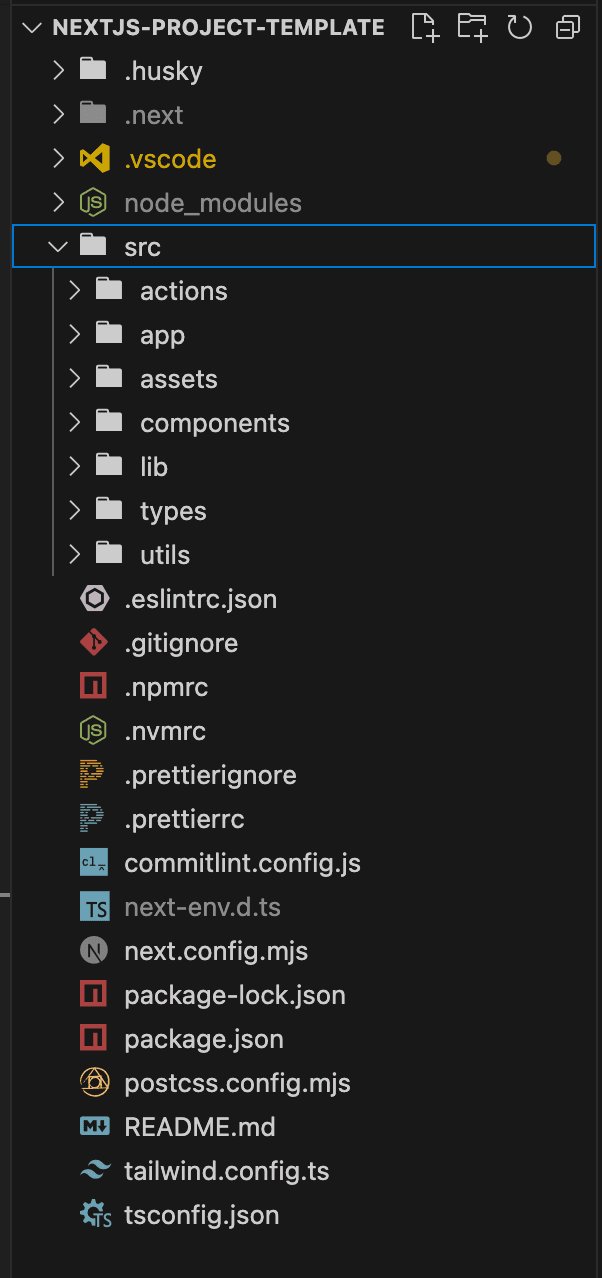
In this section we are going to set up the directory structure of our project. directory structure is really important to make a project in the long term. I personally like simplistic approach and not adding too many directories and sub directories.

- Components: we will store all our individual UI components here
- actions: I would like to keep all the server actions under one directory
- assets: we will store all the assets file (css, scss etc) in this directory
- lib: any third party or external api service will live here
- app: this is the default nextjs directory and used for the routes
- types: we will define our custom typescript types here
- utils: it will contains all the helper functions
you can add more directories based on your business logic like controllers (to store the control logics ), models(to store all your data models if you are using any database like mongodb or other), hooks (if you have to define your own custom react hooks). It all depends on your project, not every project requires to have all the directories, you don't need to be ready with all the directory, you can always add them later whenever you need to implement something.
In these directories, we may have subdirectories that kind of group similar types. You don't need to create these directories in advance and leave them empty.
I added this section just to explain how I will be setting up structure for my project, there are many other ways to organize and I would encourage you to choose whatever works best for you and your team.
Wrapping Up
I hope you found this tutorial and learned something about setting up a solid and scalable Next.js project for you and your team. You can find all the code from this tutorial in this repository. If you find this tutorial helpful, please share it with your friends and colleagues. Don't forget to follow me :-)
